Why Make Scented Candles at Home
- Choose Your Ambience – Aroma is an integral part of the ambience. Most people who enter your home, might forget the little decorative details or even the food you served but they carry away the ambience with them. The first thing that hits me when I enter a space is the smell. And that smell becomes a strong part of the memory that I carry for a long time of that experience. By creating your own scented candles, you can surround yourself with the most authentic expression of yourself.
- Create Happiness – The process of imagining something, mixing different ingredients and creating a new thing in itself is utter joy. If you’ve been feeling a little blue or uninspired lately, try making some scented candles. Melting the wax, adding a combination of fragrances and colors to create your custom candle and then pouring it into molds is a very therapeutic and uplifting experience. Try it!
- Share Joy with Friends & Family – Candle-making can become a social event in itself. Invite friends over to make candles with them while you chat over drinks. Or have a family night of candle -making to ditch the screens and spend interactive and cozy time with your kids. It will be safe activity for kids as you’ll be here to supervise them around the hot stuff.
- Make Custom Candles for Special Occasions – Make any special occasion extra memorable with your custom candles as you’re free to choose everything from shape to aroma to color. You can give these candles as loving keepsakes to your guests to make the occasion more memorable. Or you can pour a candle for a loved ones birthday, anniversary, Mother’s Day or Father’s Day gift – a gift they can cherish for a long time.
- Save Money – And, of course, the very vital advantage is that you can make many candles in the amount that you’ll spend on buying just one branded scented candle. I started making scented candles for all the above reasons but mostly for this one. I’m obsessed with having my home smell nice and find shopping for scented candles quite irresistible. Recently I’ve noticed that good quality candles are becoming very expensive and you end up saving them only for special occasions. If I pour my own candles, not only I can refill candle containers again and again but can control the intensity of fragrance as well.
What You Need to Make Scented Candles at Home
- A Saucepan – any old clean saucepan with heavy bottom would do. The size depends on how much wax you want to melt. I use a stainless steel small saucepan that can fit 100 grams piece of wax. You can also use double boiler to save the wax from burning at the bottom or on the sides. But I find it unnecessary if you keep the flame real low and keep an eye on the melting wax.
- A Stirring Spoon – A wooden spatula or stirring spoon will be required to stir in the essential oils and colors. Just dedicate a saucepan and spoon to this purpose so that it’s readily available when you want to pour a candle.
- Measuring Cup/Weighing Scale – You’ll need measuring cup or weighing scale to get an idea for what quantity of wax makes how big a candle. 1 kg of paraffin wax will melt to almost 1304 ml of liquid melted wax. While 1 kg of soy wax by weight will melt to around 1175ml of liquid. 1 kg of bees wax will weigh even slightly less, almost 1000 ml. Now it depends on your mold size and how big or small a candle you want to pour. For beginners, I’ll suggest that you start will a small quantity and pour in an already used empty candle holder to get an accurate idea.
- Wax – paraffine is the most widely used and inexpensive of all the wax varieties available in the market. It holds color and scent better as well compared to other types. Candles made with paraffine hold their shape well too and can, therefore, be used for stand alone, molds and in-containers candles. The only drawback of paraffine candles is that they release smoke when burnt. It’s also a long burning wax. Beeswax is the oldest form of wax used for centuries to make candles. It’s natural, has a mild honey scent and doesn’t give off smoke. It has the longest burning time and doesn’t drip a lot. But it is expensive. Finally, soy wax which is 100% natural, smoke free and burns slow. It’s the easiest to use because it comes in flakes form and is best suited for containers. Aroma mixes well with it but it’s the most expensive form of wax.
- Essential Oils – Essential oils are made of plant based essences and extracts. Pure essential oils are the essential part of aromatherapy. Using good quality oils ensures a lasting fragrance in the candle. Some of the best and most popular for candle making are lavender, lemon, tea tree, lemon grass, rose, jasmine, peppermint, eucalyptus and vanilla. Some oils offer calming and soothing scents, like vanilla for warm and citrus for refreshing. You can mix and match different oils to create your own custom fragrant candles. Other than oils, ready to use special candle fragrances are also available online and in shops.
- Color – Crayons are usually recommended to dye candles because they are also mostly dyed paraffin. But there are some other harmful contents in crayons as well that shouldn’t be burnt or inhaled. If using crayons, always choose the non toxic variety. You can also use good quality powder food colors to die the candles. But for most saturated result choose liquid candle dye.
- Wicks – The wicks are available by size. For example, if a wick is 62-52-18c, the first number stand for the length, the second number for describes the thickness of the wick. The higher this number tighter and thicker wick is which ensures long burning candle. And the third number is the temperature of the wax that coats the wick.
How to Make Scented Candles at Home
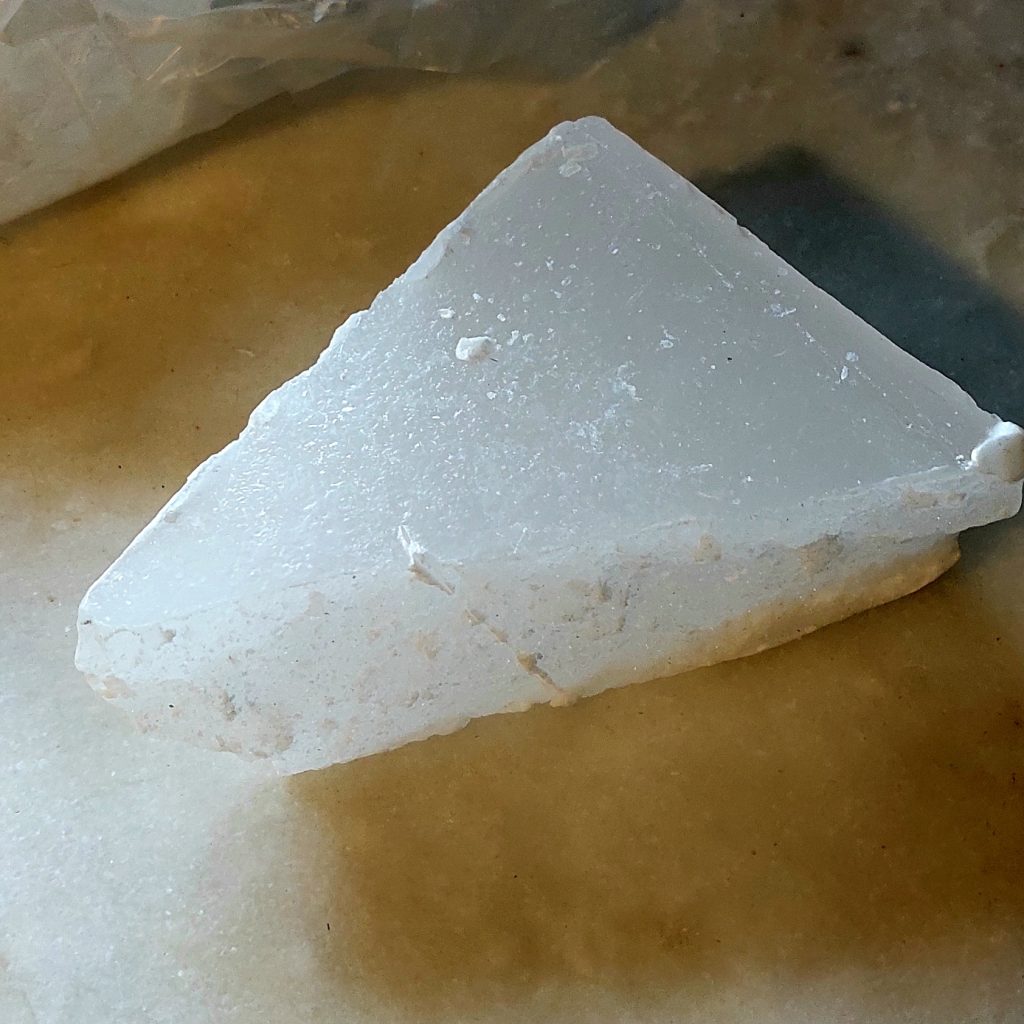
Melt the Wax – Cut a piece of wax with a knife from wax block. If using wax balls or flakes, you won’t require this step. Weigh and note the weight for future reference so that you know how much wax for what size container. Melt the wax using a double boiler or a saucepan. In case of sauce pan, keep an eye on the wax as it can burst into flames if the temperature is too high. Heat it on minimum low flame. Don’t heat wax in microwave as it might heat unevenly and become a fire hazard.
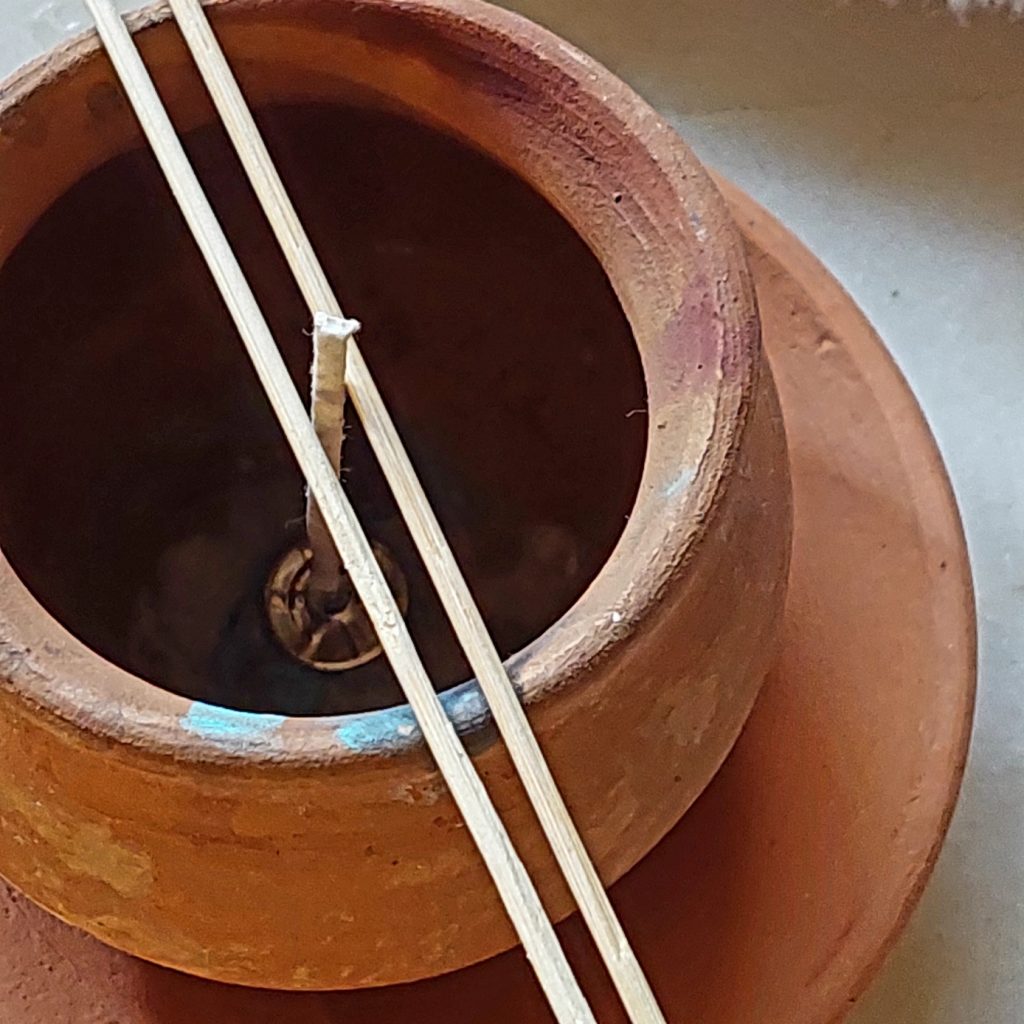
Place the Wick in the Container – While the wax is slowly melting away, get your container ready. For beginners it’s best to choose a used empty candle container. It’s budget-friendly and environment friendly. Another such option can be a small clay pot. Now place a wick in the middle of the container. To make sure that the wick stays in place, hold it between two skewers or knives, placed on the edges of your container.
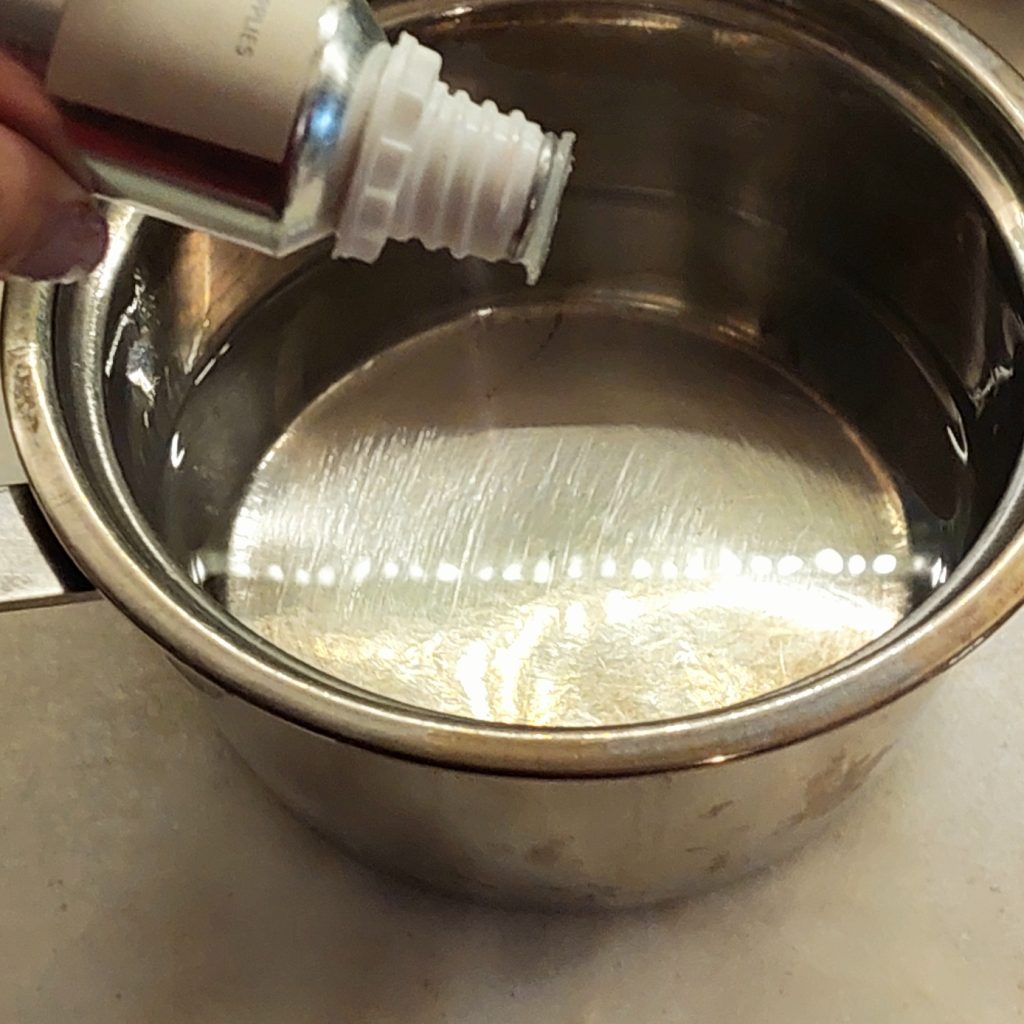
Add Your Choice of Aroma & Color– When the wax melts properly, now is the time to mix in your essential oil, custom fragrances and color. When the wax temperature comes down to around 85 degrees then you can add it to your container. Very hot wax can create bubbles when poured. How much you should add depends on how powerful or subtle you want the fragrance to be. For beginners. I recommend start experimenting just with fragrance. When you’re confident about the quantities and mixes you make then go for colors.
Proof the Candle Before Burning – Proofing or allowing the candle to rest for several hours is an essential part of the procedure. The wax might look set on the top in just few minutes but to set hard enough all the way to the core and bottom it will require ideally 48 hours. But 24 hours is the minimum you should alow it to rest even if you’re very impatient to light it. Otherwise, it will burn too fast and create a pool in the middle.
Final Touches – Once your candle is completely proofed, you can move on to final touches. Trimming the wick is important. If the wick is too long, it will make the flame flutter and burn fast. If the wick is too short, it causes a faster burn and makes the wick start drowning in melted wax. By a rule of thumb, a quarter of an inch is usually a safe length for a wick. Always regularly trim the wick and remove any debris left in the wax pool such as wick trimmings or matches. The debris will add more fuel to the candle than desired.
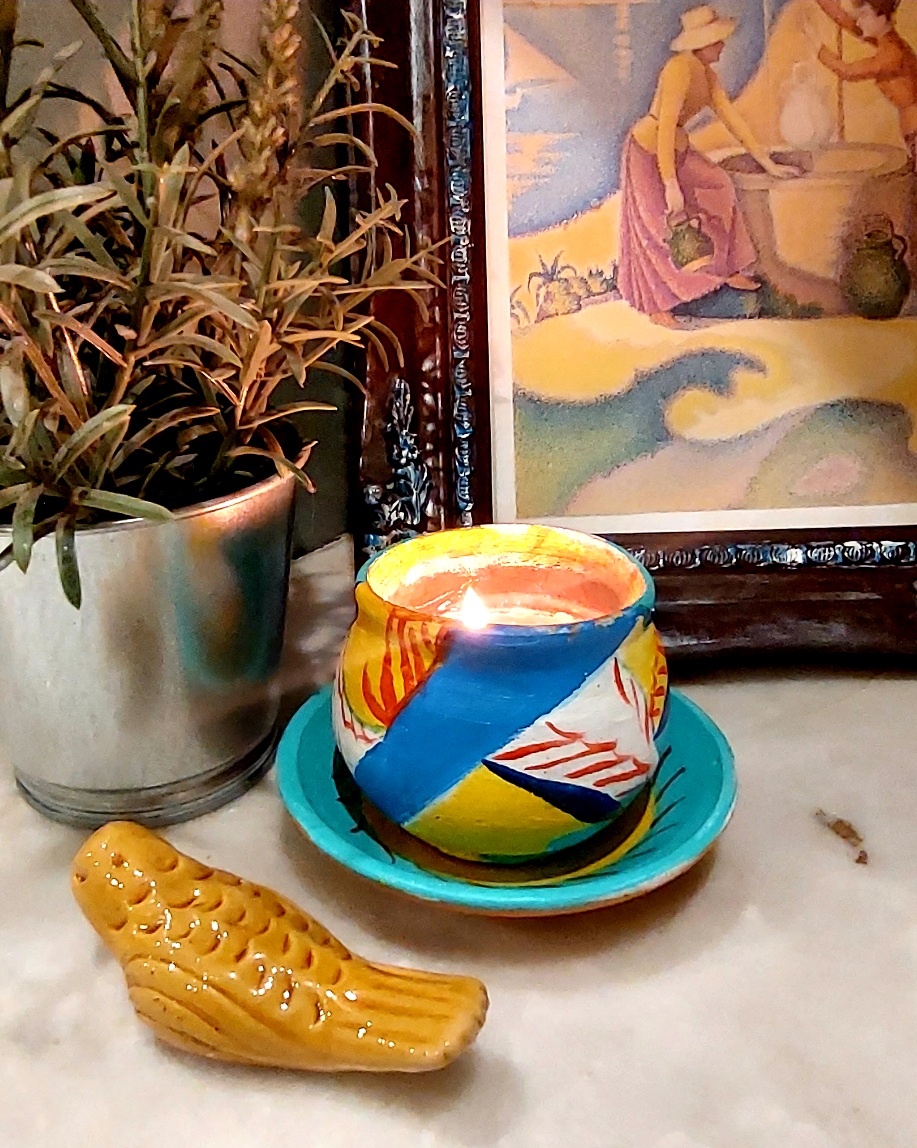
Decorating the Container – You don’t necessarily have to decorate the candle container if you’ve already chosen something sweet or you want to keep the project simple and practical. But decorating the container makes it so much more fun,, adds value and looks pretty when set on your table or gifted to a loved one. There are so many simple, quick and easy ideas – like hand painted, decoupaged, decorated with ribbon flowers or beads. etc. Just keep in mind that no decoration should come in contact with the flame or should be near enough to catch fire.
Happy candle-making and decorating.
If you enjoyed this project, do check out my post on wreath- making as well.